Showing posts with label apples. Show all posts

Wednesday, June 16, 2010

Apple Cannoli

A few days ago, I bought filo/fillo/phyllo pastry, because it was on sale. I've always seen recipes which use filo pastry, but I thought it was an America-only product. Not so, apparently. Filo pastry is basically very thin layers of pastry, layered together with oil in between, and then baked, to produce a crunchy and flaky result. The first thing I made was Apple Cannoli, which is delicious apple filling wrapped in filo pastry. I did not make the vanilla dipping sauce, because I was lazy. It probably would have tasted great, though.


The recipe uses 3 types of apples - 2 Golden Delicious, 1 Granny Smith and 1 Fuji. I just used 4 Granny Smith apples. I also used oil spray instead of brushing the filo with melted butter, all in the name of laziness.


The filling had a slight tartness, and was very delicious (you'd expect anything with this much butter to taste great). The pastry was crunchy and flaky and yum. I can't wait to experiment more with filo pastry.

Friday, June 4, 2010

Apple and Oat Streusel Muffins

 Ack... my internet died yesterday so I couldn't post, but now it's all better.

After making chocolate chip muffins, my craving for muffins didn't ease. I craved (fantasized?) about apple muffins and remembered eating a delicious apple muffin somewhere which I cannot remember. I also imagined it topped with oats or a crunchy streusel. I couldn't find a recipe that was suitable, so I made do with an apple recipe topped with an oat streusel recipe. Let's see how that turned out...


The apple muffins are from Taste, and they received rave reviews. I didn't have Granny Smiths, so I used Red Delicious instead. People who are familiar with baking with apples know that Red Delicious is an eating apple, and should not be used in baking. Well I planned on reducing the sugar and liquid from the mix to make-up for it, only I forgot and the result was too sweet. I omitted the raisins as well, because I don't think my family likes raisins. The oat streusel is from a book called The Baker's Manual, but it seemed to have too much butter. I wanted whole oats to add interest to the top of the muffins, but I didn't have that either, nor brown sugar, so I had to make-do with crushed oats and white sugar.


I can say that these were nice, and they were, but so many things went wrong that I really don't see it as a success anymore. They tasted fine to me, but others said they were too sweet. The muffins were also too soft, due to the excess moisture in the apples. I can't believe I used up all the cinnamon powder in these, now I have to buy some more.


I trust that the original recipe for the apple muffins taste great, with the Granny Smith apples, but my ones didn't turn out so great. I am currently looking forward to making other recipes from Simply Heaven, such as pumpkin soup, so stay tuned. I'll give the original recipes for each, because I think my 'adapted' version is just too pitiful.


Recipe

Obtained from Taste and The Baker's Manual

Makes 12

Muffins

Melted butter or margarine (optional), for greasing
300g (2 cups) plain flour
1 tbs baking powder
2 tsp ground cinnamon
150g (3/4 cup, firmly packed) brown sugar
2 medium (about 375g) Granny Smith apples, cored, peeled, chopped
125g (3/4 cup) seedless raisins
125g butter or margarine, melted, cooled
2 eggs, lightly whisked
185mls (3/4 cup) milk

Oat Streusel (I halved this and still got some extra)

1 cup all-purpose flour
1 ⁄2 cup old-fashioned rolled oats
1 ⁄2 cup packed light brown sugar
1 ⁄8 teaspoon salt
1 ⁄2 teaspoon
1 ⁄2 cup unsalted butter, melted


Make Oat Streusel

1. In a medium bowl whisk the flour, oats, brown sugar, and salt together until well combined. Stir in the melted butter and mix well with your hands. The streusel mix should be crumbly but form clumps when squeezed.

Make Muffins

2. Preheat oven to 180°C. Grease or line muffin trays.

3. Sift the plain flour, baking powder and cinnamon together into a large bowl. Stir in the brown sugar, apples and raisins until well combined.

4. Whisk together the butter or margarine, eggs and milk until well combined.

5. Add the milk mixture to the flour mixture and stir with a large metal spoon until just combined. It is important that the ingredients are only just combined.

6. Spoon the mixture evenly into the muffin pans.

7. Bake the muffins in preheated oven for 20 minutes or until golden and cooked through.

8. When cooked, remove from oven and stand for 2-3 minutes before turning onto a wire rack. Serve warm or at room temperature.

Friday, May 7, 2010

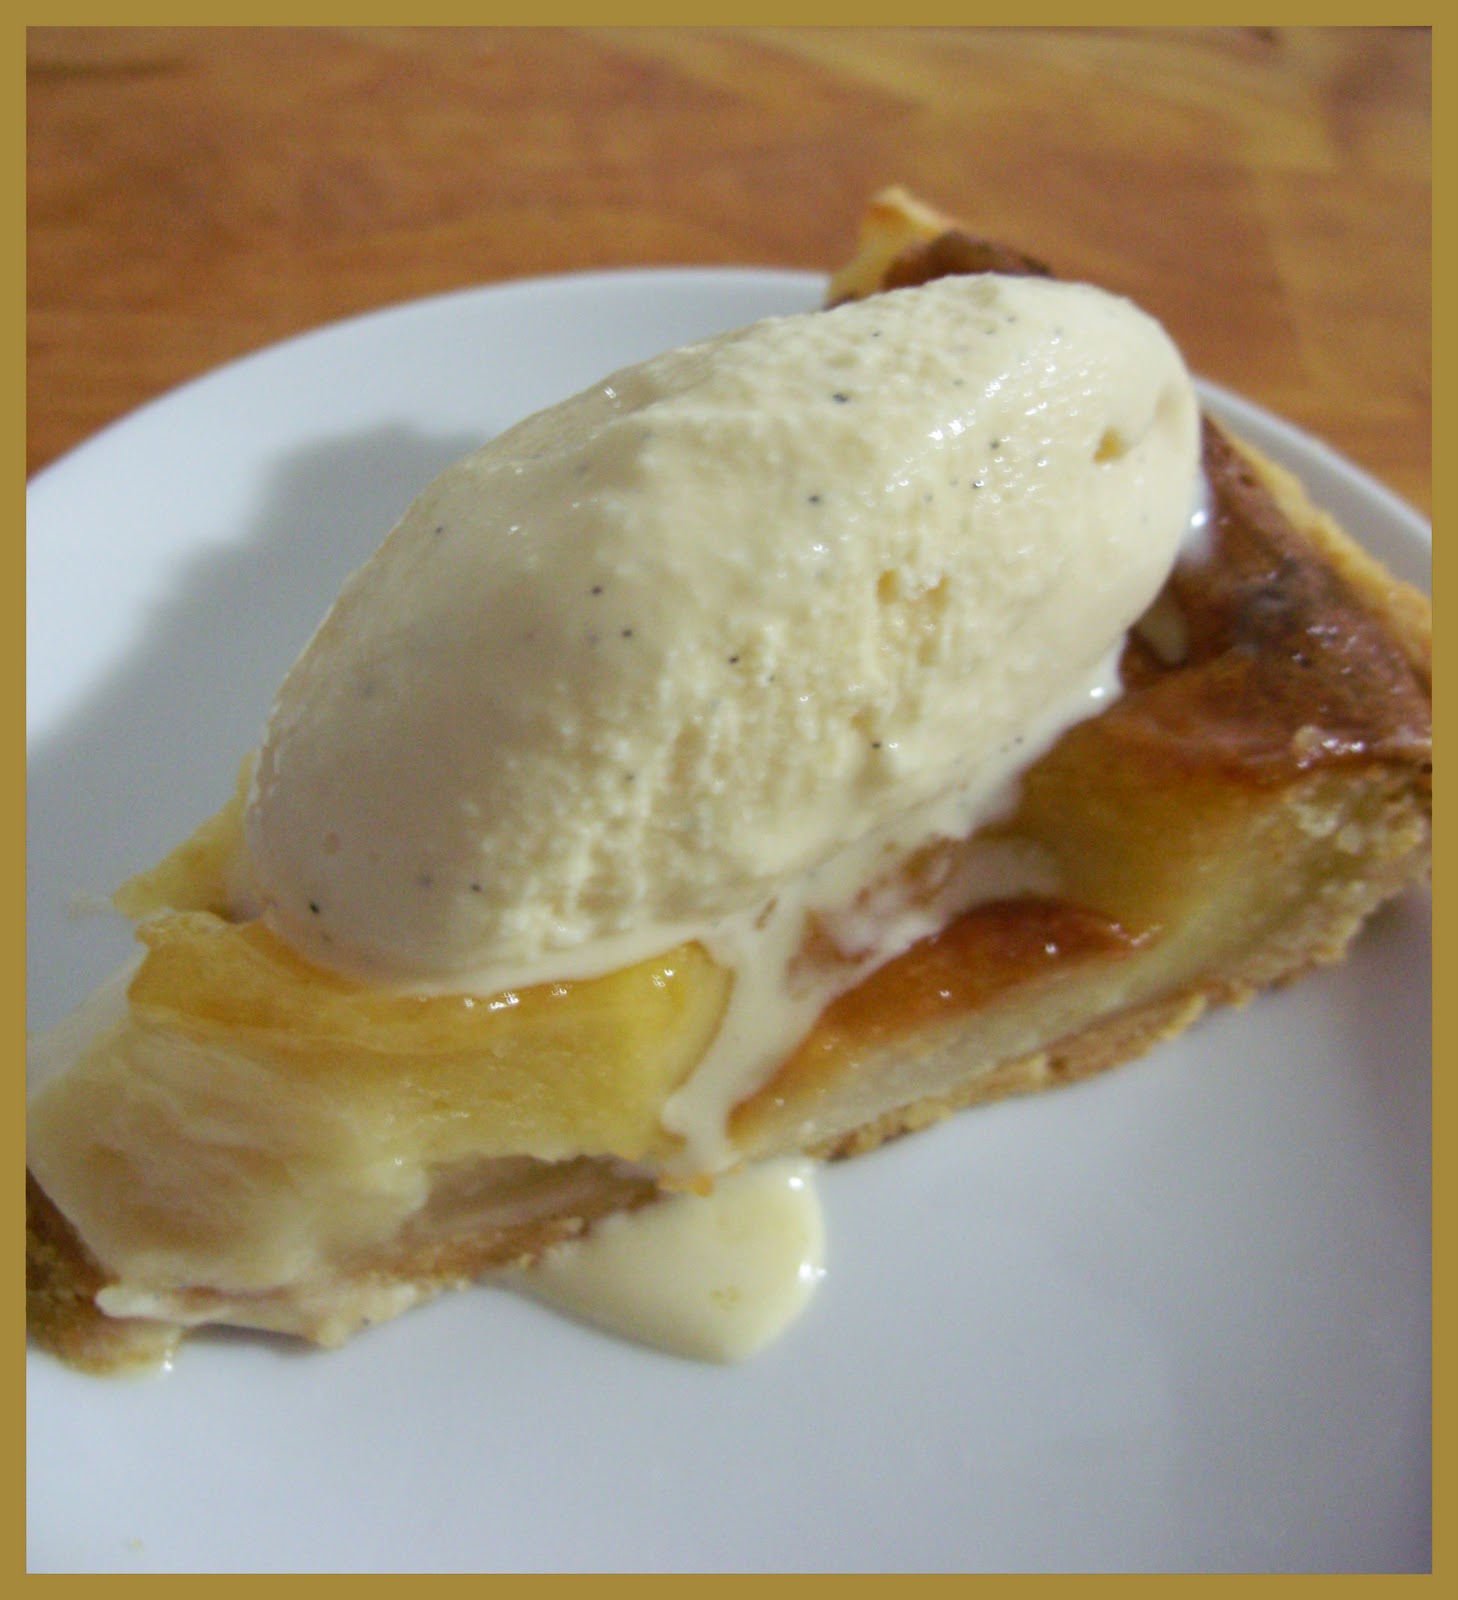
Apple Tart

Continuing the list of things I made when guests came over last time is apple tart. Now, apple tart is not the same as apple pie. Apple pie has a top layer of pastry, and tarts do not. I think apple tarts are easier to make solely because you don't have to fiddle around with another layer of pastry. I've never actually made an apple pie before - shocking, I know. Another reason why I prefer to make tarts is I don't have a pie plate, and it's the shape of the plate that gives the pie its rounded shape. But I will get around to making an apple pie, promise.

This apple tart is a recipe by Paula Deen, from Foodnetwork.com. When I first read the recipe, I was surprised that the crust had no sugar or salt, and had sour cream. Always curious, I decided to make it as apples were on my mind.


I do not have a food processor, so I simply rubbed the butter into the flour until it resembled fine breadcrumbs, and added the sour cream. I used about half a tablespoon more sour cream, because I was working by hand and the cream wasn't distributed evenly enough. The dough was... interesting to work with. Don't worry if the base of the tart looks a bit thin - it's perfectly fine. The recipe doesn't call for it, but I blind baked it with weights, although I doubt it made much of a difference though, so next time I won't weigh it down.


The 'custard' mixture almost overflowed, but didn't which was good, but the glaze made too much. I would recommend halving the recipe for the glaze. Oh, and if you can't get orange juice concentrate, just use plain orange juice, much cheaper and I don't think you can get the concentrate in Australia. This tart was a hit with the guests who each had two slices. I will be definitely making this again.


Recipe

Obtained here.

Makes 6 servings.

Crust


1 1/4 cups all-purpose flour
1/2 cup (114 grams) butter, room temperature
2 tablespoons sour cream

Filling

About 6 medium apples, peeled, pitted, and sliced (I used Granny Smith)
3 large egg yolks
3/4 cup sour cream
3/4 cup sugar
1/4 cup all-purpose flour

Glaze

1/2 cup apricot preserves or jelly
1 tablespoon frozen orange juice concentrate (Or just plain orange juice)
Mint, for garnish
Whipped topping, for garnish


1. Preheat the oven to 375 degrees F (190 degrees C).

To make the crust:

2. Place the flour, butter, and sour cream in a food processor and pulse to combine. When the dough has formed a ball, pat with lightly floured hands into the bottom and sides of an ungreased 10-inch tart pan with a removable bottom and 1/2-inch sides, or a round au gratin dish.

3. Bake for about 18 minutes, until the crust is set but not browned. Let cool while preparing the filling.

4. Lower the oven temperature to 350 degrees F.

To make the filling:

5. Peel and thickly slice the apples. Arrange the apple slices in overlapping circles on top of the crust, until it's completely covered. Overfill the crust, as apples will shrink during cooking.

6. Combine the egg yolks, sour cream, sugar, and flour and beat until smooth. Pour the mixture over the apples.

7. Place the tart pan on a baking sheet and bake for about 1 hour, until the custard sets and is pale golden in color. Cover with an aluminum foil tent if the crust gets too dark.

8. Transfer the tart pan to a wire rack to cool. When cool, remove the side wall of the pan.

To make the glaze:

9. Combine the preserves or jelly and orange juice. Spread with a pastry brush over the top of the warm tart.

10. Serve the tart warm, at room temperature or chilled. Garnish with fresh mint.

Tuesday, April 6, 2010

Apple Tarte Tatin

The good thing about the school holidays is that it gives me time and an excuse to make more food. I don't have to worry about school the next morning or an assignment I have to complete. I am feeling so happy right now because I am creating something every day. First it was Hot Cross Buns, then the Lemon and Orange Tart, and now it's Apple Tarte Tatin.

This recipe is from 'Ultimate Cake' by Barbara Maher. I decided on it because it was easy to throw together and my neighbour had some apples that I could use up (Yeah, she's very nice). I made a large Tarte and several small ones, but the big one was consumed (by 10 people) before I could shoot it.


The pastry (pâte brisée, which means shortcrust pastry) came together pretty well, but it all started to get a bit wonky when we moved on to the caramel. It says to put 90 grams of butter and 100 grams of granulated sugar into a saucepan and heat until golden brown. I used caster sugar the first time round, thinking it wouldn't make a difference. I also stirred like crazy in the beginning, which was another mistake. My head started spinning as the sugar clumped together under the layer of melted butter and bubbled like crazy. I don't have words to describe it. It was quite disheartening and rather unsightly.


Another try, with granulated sugar, and we were off to a good start, until I realised you shouldn't stir. So as the sugar edged towards the same fate, I cranked up the heat and told my neighbour not to stir. Both of us watched the pot of bubbling sugar and butter in earnest, hoping it would work. After about 5 minutes, I decided to move the pan to a bigger flame. It bubbled more fiercely and colour started creeping in. For a second we were rejoicing, but then the sugar started burning. We quickly moved it back to the small flame and dropped in the apples. They cook in the 'caramel' for 10 minutes and are then moved away. In the end, we ended up with what looked like caramel but I'm not sure that it actually was.
.
.
The rest of the procedure worked quite well. Preheated the oven without exploding, greased the tin without droppinng it, placed the apples into the pan without breaking. The only problem was that I rolled out the pastry too much. It was too thin so once I inverted it, the base broke into a few large pieces. That wasn't a problem though, as it was gobbled up well within 5 minutes. The individual ones weren't so bad either, but I only baked them for half the time.
I hope everybody enjoyed their Easter as I certainly did. Now it's time for me to relax as it's the school holidays.


Recipes

Obtained from 'Ultimate Cake' by Barbara Maher

For the pastry

1 quantity pâte brisée

For the topping

1.5kg small dessert apples
90gr butter
100g granulated sugar


Cake Tin: 24cm moule à manquer tin or heavy-based, shallow, round cake tin


1. Allow the pastry to come back to room temperature. Remove the cores from the apples with an apple corer. Peel and cut them in half.

2. For the topping, put the butter and sugar into a large saucepan or deep fryer pan. Heat gently until melted. Cook, stirring now and then, until the mixture starts to caramelize and turn golden brown.

3. Take the pan off the heat and add the apple halves. Gently turn them over in the mixture until well coated, return to a high heat and cook, stirring gently now and then, for 10 minutes or until the sauce has thickened even more and the apples are golden brown.

4. Pack the apples tightly into the bottom of the tin, rounded-side down. Roll out the pastry on a lightly floured surface into a circle slightly larger than the top of the tin. Lift carefully on to the apples and tuck the edges down well around the fruit.

5. Bake in the preheated oven (220°C) for 20 minutes or until the pastry is golden brown.

6. Remove from the oven and leave to rest in the tin for 5 minutes so that the juices have time to set slightly; but do not leave longer or the caramel sauce and the apples will stick to the base of the tin and not to the tart.

7. Run a round-bladed knife around the edge of the pastry and carefully turn out the tart on to a plate. Leave to cool slightly. Serve warm with whipped cream.


Pâte Brisée (Shortcrust Pastry)

180g plain flour, sifted
Pinch of salt
100g chilled butter
2 tablespoons caster sugar
1 egg yolk, lightly beaten
1-2 tablespoons iced water


1. Sift the flour once more, together with the salt, into a large mixing bowl or on a clean work surface. Make a well in the centre.

2. Cut the chilled butter into pieces and add to the flour. Lightly rub the butter and the flour together with the tips of your fingers, lifting the mixture and letting it fall back down, until you have a fine, crumb-like mixture.

3. Add the caster sugar to the bowl and stir in with a fork, making sure it is evenly distributed throughout the mixture.

4. Mix the egg yolk with the water until well blended. Drizzle over the mixture while stirring continuously with a small, round-bladed knife.

5. Work swiftly yet lightly, continue to stir everything together until the mixture starts to stick together in little lumps.

6. Gently bring the small lumps of pastry together using the heel of the hand until they form a rough ball. The quicker you do this the better.

7. Knead briefly on a lightly floured surface until smooth. Wrap in clingfilm and chill for at least 1 hour